Super88bet ⚡ Link Slot Gacor Provider PG Soft Ternama
Dalam dunia iGaming yang terus berkembang, Super88bet hadir sebagai salah satu platform unggulan yang menawarkan pengalaman bermain slot online terbaik. Dengan menggandeng PG Soft—salah satu provider slot ternama dan terpercaya di dunia—Super88bet menjadi destinasi favorit para pecinta game slot gacor.
Tak hanya mengandalkan keberuntungan, Super88bet juga menghadirkan teknologi terkini dan fitur canggih yang menjadikan pengalaman bermain lebih seru, adil, dan pastinya menguntungkan. Bagi kamu yang sedang mencari link slot gacor dengan tingkat kemenangan tinggi, Super88bet adalah jawabannya.
Berbagai Macam Permainan PG Soft Tergacor
Salah satu keunggulan utama Super88bet adalah koleksi permainan dari PG Soft yang sangat variatif. Provider ini dikenal dengan grafis memukau, alur cerita yang menarik, serta fitur bonus yang melimpah. Beberapa judul slot yang paling gacor dan digemari antara lain:
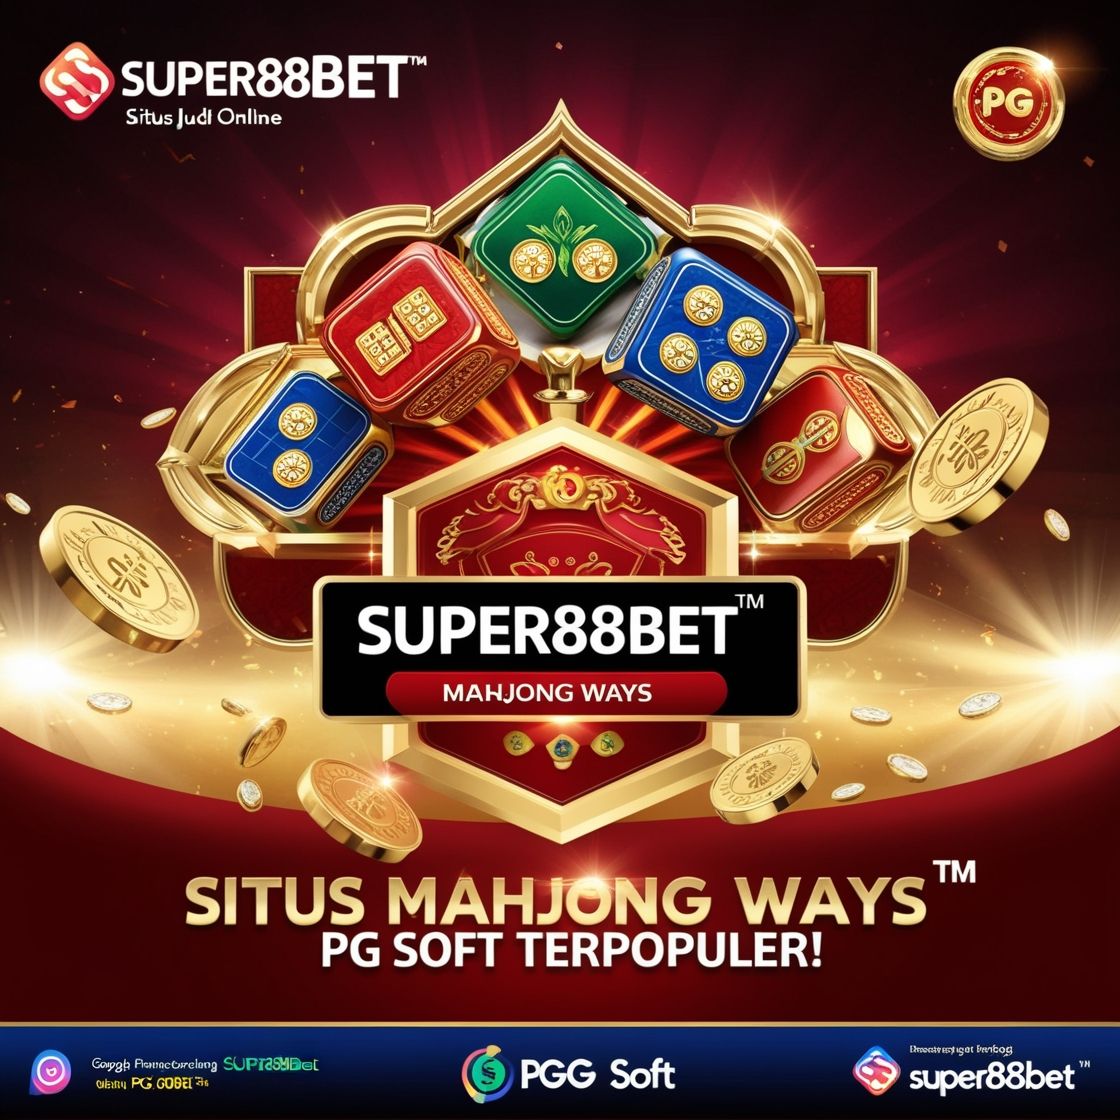
- Mahjong Ways 2 – Slot bertema klasik dengan sentuhan modern yang memberikan RTP tinggi serta fitur pengganda kemenangan.
- Lucky Neko – Dikenal sebagai salah satu slot paling hoki dengan scatter dan wild yang mudah didapat.
- Caishen Wins – Slot bertema dewa keberuntungan Tiongkok ini sering memberikan free spin dan jackpot besar.
- Treasures of Aztec – Slot dengan tema petualangan dan fitur tumble yang memberikan peluang menang beruntun.
- Rise of Apollo – Visual yang luar biasa dengan peluang menang besar lewat fitur Wild on the Way.
Setiap game dari PG Soft memiliki karakteristik unik, namun yang pasti semuanya punya satu kesamaan: potensi kemenangan besar dan gameplay yang bikin ketagihan. Ayo buaruan daftar sekarang juga!!!